If you’ve ever stood in front of your kitchen counter with a bottle of gin, a tired bottle of tonic, and the vague hope of “doing something fun,” this article is for you.
Building a DIY cocktail bar at home doesn’t have to mean dropping a month’s rent on crystal decanters and obscure amari. You can absolutely start small, make genuinely good drinks, and scale up as your budget and skills grow.
In this guide, I’ll walk you through how to build a home bar that actually fits your life: tiny apartment or big house, tight budget or treat-yourself mode, total beginner or borderline bar geek.
Start with two questions: budget and skill level
Before you buy anything, be honest with yourself about two things:
You don’t need a “forever bar” on day one. You need what will let you make three or four solid drinks you love, without stress. Everything else can come later.
Here’s a simple way to think about it.
Low: I want to start under $75
Medium: I can go up to $150–250
High: I’m ready to build something more complete ($300+)
Beginner: I barely measure; I just want tasty, simple drinks
Comfortable: I follow recipes, I own a jigger (or want one)
Enthusiast: I’m happy to shake, stir, and experiment
Keep your answers in mind as you read. I’ll give specific setups for each combo further down.
The core of any home bar: a small, smart spirit lineup
A common mistake is buying “one of everything” and ending up with a graveyard of half-used bottles. Start with a focused selection that works hard.
For most people, these bottles will give you the best versatility per dollar:
If your budget is tight, pick two spirits that match what you actually drink. For example:
From there, you can add “flavor amplifiers” that open up a huge range of cocktails.
Tip from my own early mistake: don’t buy big bottles of vermouth unless you know you’ll use them. They’re wine-based and oxidize. Store them in the fridge and aim to finish within 1–2 months.
Mixers and non-alcoholic essentials that pull their weight
Once you have a couple of spirits, the fastest way to upgrade drinks is with thoughtful mixers. You don’t need 12 syrups and four types of bitters; you need a few workhorses.
If you want to go one step further:
Tools: the bare minimum vs. the nice-to-have
I spent my first summer making cocktails with a jam jar instead of a shaker and a shot glass as a jigger. It worked, but I made my life harder than it needed to be.
If your budget is tight, focus on tools that make your drinks consistent and easy to execute.
Starter kit (low budget, beginner-friendly)
Next-level tools (when you’re ready to upgrade)
The goal isn’t to buy the fanciest gear; it’s to have tools that make you want to keep practicing.
Glassware: use what you have, then add strategically
I love pretty glassware, but you don’t need a dedicated coupe for every recipe you see on Instagram.
You can cover 90% of cocktails with three types of glasses:
On a strict budget? Start with whatever sturdy glasses you already own. Prioritize:
You can thrift the rest over time. Some of my favorite coupes cost less than the lime I put in the drink.
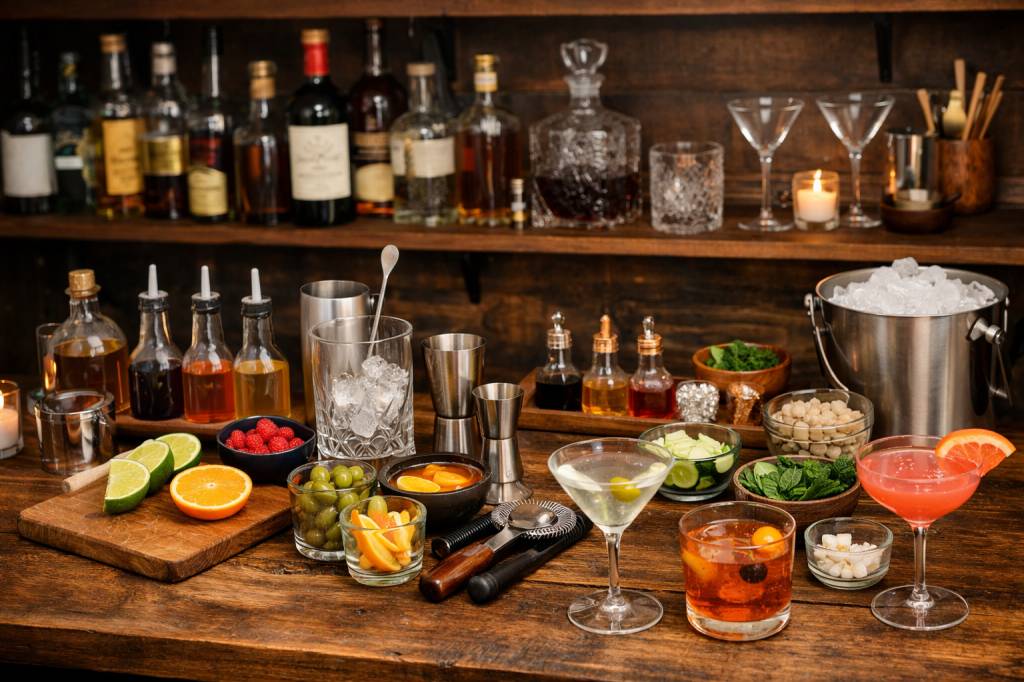
Storage and organization that actually works in a real home
Not everyone has space for a dramatic bar cart moment. That’s fine. What you need is a setup that’s easy to access and easy to put away.
Pick one central “bar zone”:
Keep these together so making a drink doesn’t turn into a scavenger hunt:
Anything perishable (juices, cut fruit, open vermouth) lives in the fridge. Put them in a dedicated tub or box if you can, so “cocktail stuff” is still easy to grab.
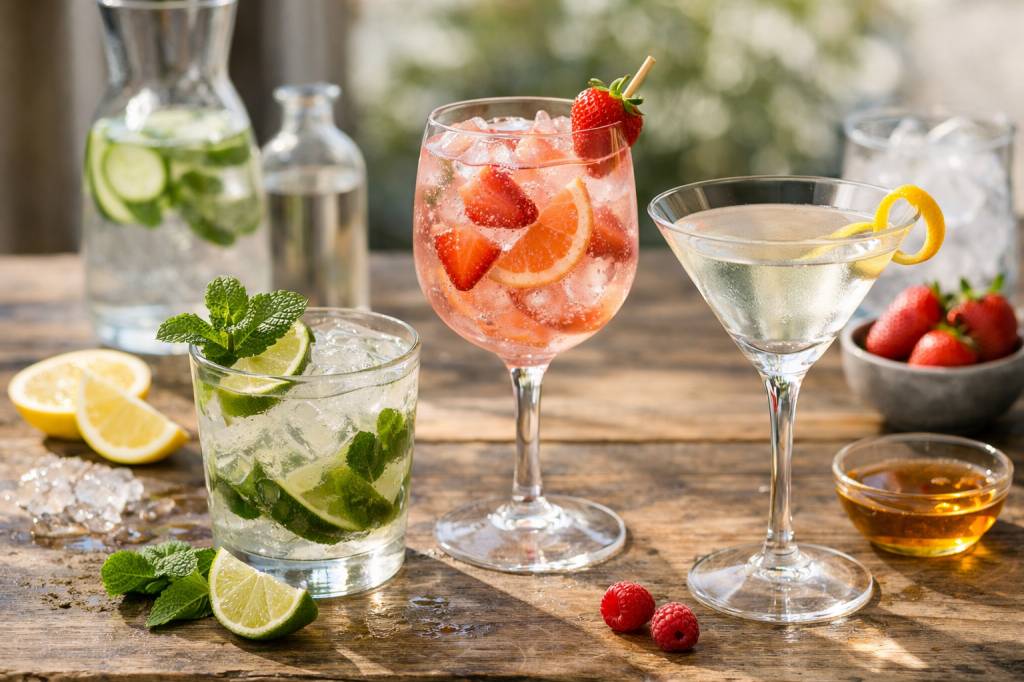
Styling your DIY bar (even on a small budget)
You don’t need designer trays or $50 decanters to make your bar feel intentional. A few small touches go a long way.
The idea is to make it look good enough that you want to keep it organized and in use. A bar that’s visually pleasing gets used more, period.
Prepping for guests: batching and “minimal effort, maximum payoff” moves
Hosting with a DIY cocktail bar is fun until you’re five drinks behind and stuck measuring one lime wedge at a time. The fix: batched cocktails and smart mise en place.
When friends are coming over, prep like this:
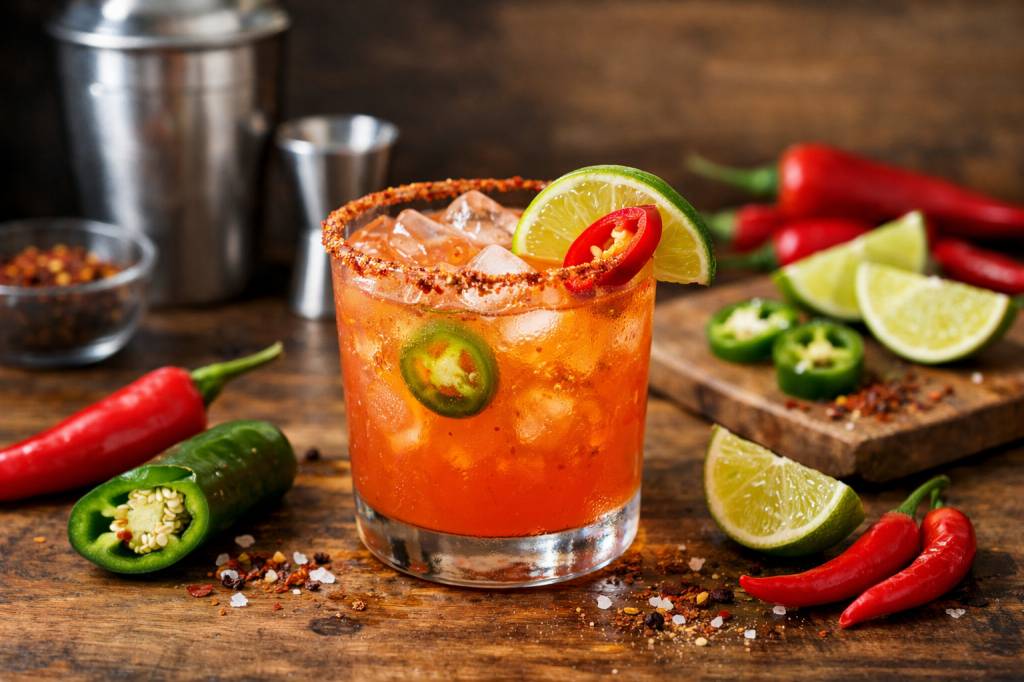
Example for a small gathering: a batched Margarita.
For 8 drinks, mix in a pitcher and chill:
Shake individual portions with ice when serving, or serve over ice from the pitcher if you’re keeping it super casual. Guests get a “real” cocktail, you get to enjoy your own party.
Three realistic home bar builds for every budget and skill level
Let’s put this into concrete setups you can copy-paste into your life.
1. The Under-$75 Beginner Bar (small space, zero fuss)
You want: easy, crowd-pleasing drinks with minimal equipment.
1 bottle vodka
1 bottle tequila (100% agave)
Tonic water
Ginger beer or ginger ale
Sparkling water
Lemons and limes
Sugar for simple syrup
Basic shaker
Jigger
Citrus squeezer
Whatever tall and short glasses you already own
What you can make:
This setup already beats 90% of random “whatever’s in the fridge” drinks.
2. The $150–$250 Confident Home Bartender Bar
You want: proper classics, a bit of flair, and the tools to make them well.
Vodka
Gin
Bourbon or rye
Tequila (100% agave)
White or lightly aged rum
Orange liqueur
Sweet vermouth
Dry vermouth
Campari or Aperol
Fresh lemons and limes
Sparkling water
Tonic water
Ginger beer
Cola
Sugar, honey or agave
Shaker
Jigger
Bar spoon
Hawthorne strainer
Fine mesh strainer
Citrus juicer
Peeler
4 rocks glasses
4 highball/Collins glasses
2–4 coupes or small stemmed glasses
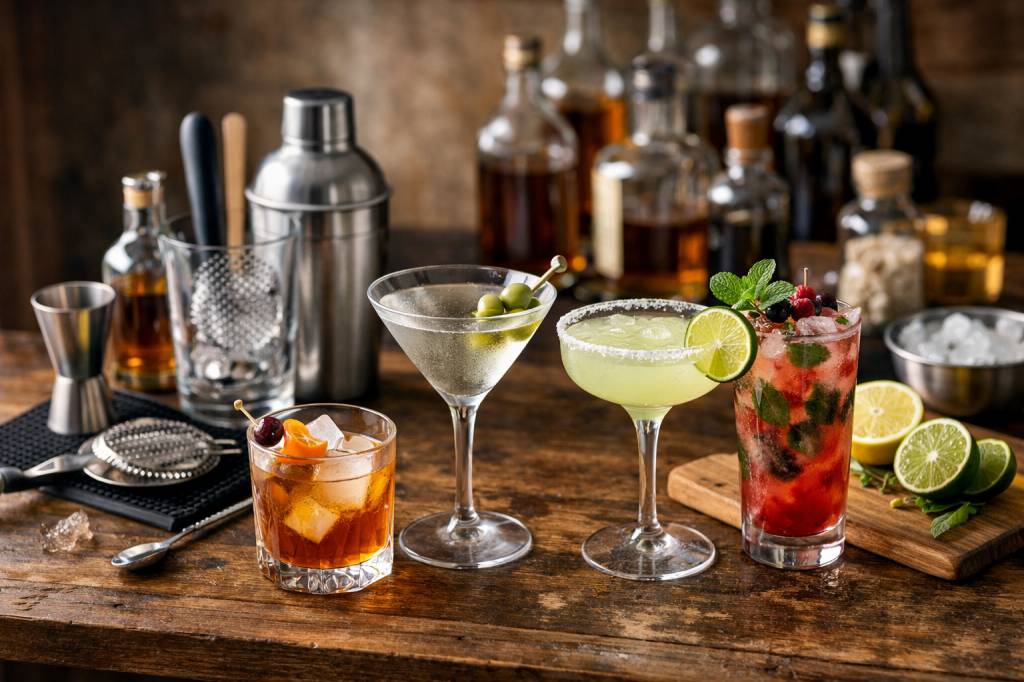
What you can make: Martinis, Manhattans, Negronis, Margaritas, Daiquiris, Whiskey Sours, Old Fashioneds, spritzes, and a long list of variations.
This is where home bartending really opens up. You can confidently make something for almost anyone who walks into your home.
3. The Enthusiast’s Bar (you love tinkering and hosting)
You’re ready to invest more and think like a bar program: variety, efficiency, and style.
Aged rum
Mezcal
An amaro you love (Fernet-style or something softer)
A second style of gin (more juniper-forward or more citrusy)
One or two flavored liqueurs you actually use (e.g., coffee liqueur, elderflower)
Angostura + orange bitters
Rich simple syrup (2:1 sugar to water)
One or two house syrups (e.g., vanilla, spiced, herbal)
Heavy mixing glass
Additional bar spoon(s)
Better-quality shaker (weighted tins)
Small squeeze bottles for juices and syrups
Dedicated cutting board and bar knife
At this point, your main challenge isn’t “what can I make?” but “where do I stop?” which is a good problem to have.
Common home bar mistakes (and how to dodge them)
A few patterns I see over and over when people send me photos of their first home bars:
How to keep your bar evolving without wasting money
Think of your DIY bar as something that grows with you instead of something you must complete.
What did I actually use?
What sat untouched?
What did guests love?
Do I replace it?
Do I try a different brand/style?
Or was that a “one-time experiment”?
This way, your bar naturally tilts toward what you and your friends genuinely enjoy, not what Instagram told you you “should” have.
If you start with a focused setup that matches your budget and skill level, you’ll be surprised how quickly your confidence grows. One evening you’re measuring your first Margarita; a few months later, you’re tweaking ratios, inventing a house spritz, and casually batching cocktails like it’s no big deal.
That’s the real goal of a DIY home bar: not perfection, not prestige, just the freedom to make good drinks, whenever you want, for the people you care about — including yourself.